How to Photograph Wildlife on Safari in Africa

“Safari” is traditionally the Swahili word for “a journey.” Now, however, it generally applies to a game-viewing trip to Africa and – wow – are they popular. I’m incredibly fortunate to work in the heart of the Masai Mara, one of Africa’s most abundant game reserves nestled in the south west corner of Kenya. This article will give you some top tips for photographing wildlife on safari in Africa.
Nature TTL Hub: Discover wildlife photography safaris


Where and when should you go on safari?
This is a common question that I am asked, and one that entirely depends on your personal preference and what it is you want to photograph in the first place. This is probably best left to a conversation between you and a specialist travel agent, but it is worth noting that seasons in Africa do have an effect on what you’ll be able to see.
Nowhere is that more true than here in the Masai Mara, where we are most famous for the wildebeest migration – an annual journey of 1.5 million wildebeest from Tanzania to Kenya that usually arrives in July, before leaving in early September.
Really think about what it is you want to photograph on your safari before booking, and do some proper research to ensure you are not disappointed.

With the ever-increasing popularity of photo safaris, a lot of lodges are now going to great lengths to attract more photographers. One of the big pulls is having cars specially modified for photo safaris, with attachments for lens mounts as well as the ability to shoot as low as possible (often achieved by removing the side doors allowing you to photograph from eye level of your subject).
It’s really worth checking with wherever you’re thinking of staying that they have this facility, as it adds a great dynamic to your images.
What equipment should you bring?
This comes down to your style of photography and, perhaps more importantly, your budget. Personally, I’ve always favoured a wide-angle approach. Consequently, I shoot with a full frame camera (Nikon D850) and a 70-200mm lens.
I’m fortunate that I live here, meaning that I get ample opportunities for photography. If you only have a limited time in Africa, you don’t want to miss a shot because you didn’t have a long enough zoom lens. Therefore, I’d advise you bring two lenses: a telephoto of at least 400mm, as well as a wide angle for landscape shots (I always carry a 24-70mm).
Read more: What’s the Best Lens for Wildlife Photography?

If your budget can cover it, it’s worth having two camera bodies as changing lens on safari is a massive “no no.” There are two reasons for this: most importantly, it’s a sure fire way to get dust on your camera’s sensor, but with the speed things can happen on safari you also don’t want to miss a shot because you were busy changing lens.
If you’re on a once in a lifetime trip, it’s worth having the camera kit to properly capture it.
Extra kit to consider
Spare memory cards. There is nothing worse than running out of space on your cards on safari. It’s a mistake that’s easily avoided, so stock up before you leave.
Extra batteries. Depending on where you’re staying, you may not be able to charge your batteries overnight so take extra with you just incase.
Teleconverters. Grab that extra bit of reach by adding a teleconverter your lens. Beware of what it will do to your minimum aperture though, especially when shooting in low light conditions.
Durable and padded camera bag. Something you may already have, but safaris are not conducted on tarmac roads and as a result it’s not always a smooth ride. Make sure your kit is well protected at all times.
How to approach your African safari
You’re not on safari to get a good night’s sleep. Dawn in Africa is early and the sun rises fast. As a result, you’ll need to be up and out of your tent way before sunrise.
This allows you to be out there during the ‘golden hour’, which is the hour immediately after sunrise (or before sunset) where the light is softest for photography. Not only this, but it’s also when the wildlife is at its most active. Most animals hunt predominantly at night or first thing in the morning, so get up early and get out on safari.
Make sure you’re used to your camera before you arrive, you don’t want to be grappling with new or unfamiliar equipment on safari. It doesn’t matter what you photograph before you arrive but make sure you’ve worked out as much about your camera kit before you go out on that first safari.

Be patient. When you get to a sighting, stay there for as long as you can. You can’t take great shots charging round on safari looking for the next spot that might be better. When you reach a sighting, take time to work out how you want to photograph it and don’t just immediately turn your lens to full zoom and try and snap ‘that’ lion portrait. You can take those in a zoo. Think carefully about your composition and how you can be different.
Most importantly, and one I beg of you when going on safari, is respect the wildlife. You are there to observe and not to influence the animals. Your behaviour should never cause wildlife to change theirs. If you only take one thing from this article, please let it be this.
Read more: An Ethical Guide to Wildlife Photography
Creating unique wildlife safari photos
Wildlife photography is understandably extremely popular – why wouldn’t it be? – so the quest to create unique images is becoming increasingly more difficult.
A safari is the perfect time to try and create a really dynamic portfolio, so it’s vital you don’t get drawn in to using the same methods throughout your trip and arriving home with a very similar collection of photographs. Adhering to some of the following ideas should ensure this doesn’t happen.
1. Get down low
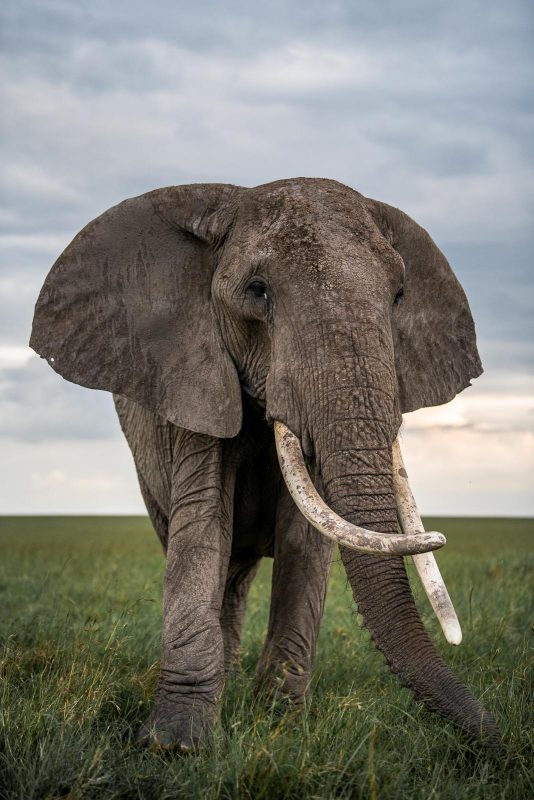
One of my biggest bug bears is driving past people on safari photographing out of the roof of their vehicle and therefore shooting down on their subject. This dramatically reduces the impact your subject has within the image. Getting down on to its eye level ensures you prevent this from happening, and will add a greater sense of scale and power to the animal you’re photographing.

2. Freeze frame vs. motion blur
Not a method reserved for wildlife photography, but one that is extremely useful when taking home a great collection of images. Experimenting with your shutter speed can be frustrating at times but stick with it.

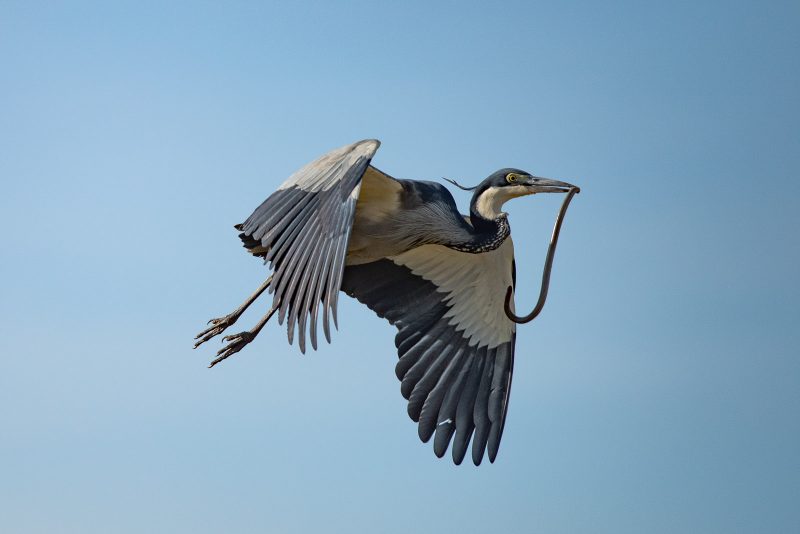
To ‘freeze frame’ action, you need a fast shutter speed that is often above 1/1000th of a second. This ensures your subject stays pin sharp.
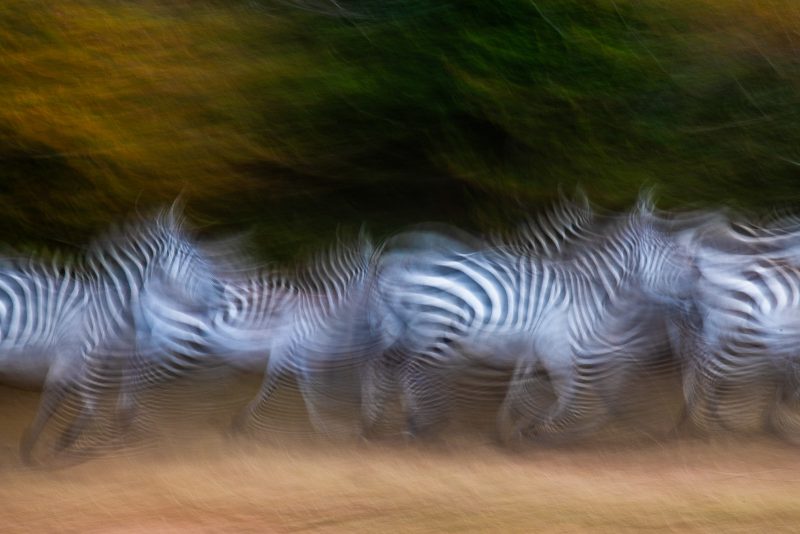
For motion blur, you need to slow it right down to anywhere between 1 and 1/50th of a second. This allows your camera to capture the movement of the animal and can create extremely striking images.

It is very hit and miss, though, and you’ll have a lot of failures for each success.
Read more: Panning Technique – Conveying Motion in a Photo
3. It’s not all about getting eye contact
It’s easy to get sucked in to trying to look for ‘that’ animal portrait: closely cropped, subject staring down your lens with minimal distractions. But there is so much more to work with out in the bush.
Only by immersing yourself in your subject and spending time with it can you start to find other images. Look for a particular behaviour, movement, or interaction and work with it.
I spend the vast majority of my time photographing elephants, and so I’m always looking for a new angle. Try and think what others might have done, stay away from that and find something new to focus on.

4. Show the habitat and surroundings
Africa is unique not just for its wildlife but also its landscape, so it’s vital you show that. This is why a wide-angle lens is an essential part of your setup.
As I mentioned earlier, you can take a portrait head shot in a zoo, but what you can’t do is show the incredible backdrop that is Africa. Most of my favourite images have been taken on my 24-70mm, as they show not just my subject but the habitat and environment in which it lives.
You should not underestimate how much more powerful this can make your images.
Read more: How to Photograph Animals in Their Habitat

5. Photograph as much as you can
There are two reasons for this. Firstly, it makes you a better photographer as the more you use your camera, the more natural it will become. Secondly, you can’t photograph it when you’re at home!
Make the most of the time you have on safari, and just because it’s not as exciting as perhaps one of the Big 5 doesn’t mean there isn’t a great photograph to be taken.

6. Stay out until last light
Just as with getting out early in the morning, never go back to camp too quickly in the evening. The last rays of sunshine are often when you’ll get some of your nicest images, particularly if you’re on the hunt for a silhouette shot.
So often I’ve seen people put their camera away thinking they’ve finished for the day, only to have to scramble for it again when they’re greeted with one last perfect picture moment. Make the most of every day by staying out as long as time allows.

7. Just because you’re back in camp does not mean the safari is over
The nature of living in the bush means that there is always wildlife around. Just a simple walk around camp can reveal an abundance of species, so make sure you have your camera with you at all times.
Most camps will have guards around 24/7 to protect guests from wildlife that can wonder in at any time. Ask them for some of the hot spots in camp for wildlife and you’ll be amazed at what you can find.

In conclusion
Hopefully following these simple steps will set you up to create a brilliant set of wildlife images during your time on safari in Africa. But remember that no matter how expensive your camera kit or brilliant your technical knowledge is, without patience you won’t capture much.


