Drone Photography: 9 Tips to Drastically Improve Your Aerial Photos

A background in architecture and graphic design has given me a keen eye for detail and composition. The top-down geometric shapes in a landscape lend themselves to this style of photography. Drone photography has literally given me a world of new opportunities to create unique landscape images.
Greg Whitton, a landscape photographer whose work I admire, once said “Is the only thing making the shot the weather conditions? Would the scene have merit without them?”. Of course lighting can be an important consideration, but the principal of what he said stuck with me. I’m aware that just because the drone can get to a unique vantage point I otherwise couldn’t, it doesn’t necessarily guarantee a great picture. Subject matter and what I include, and exclude, from a shot is more important to me than getting up at 4am to catch the vibrant morning colours of a sunrise.


My DJI drone’s camera has a fixed aperture to give a large depth of field, and by its nature it’s unsuitable for long exposures. Therefore a scene cannot be improved with a dreamy shallow depth of field or wispy, blurred clouds. Again, subject matter is key to a great image when it comes to aerial drone photography.
During my brief foray into aerial photography I have been fortunate to have had 3 images commended in the Landscape Photographer of the Year competition in 2016. I’d like to share some tips and advice that I have learnt from my experience, and hopefully these will help you to become a successful aerial photographer.
#1 Make Something Out of Nothing
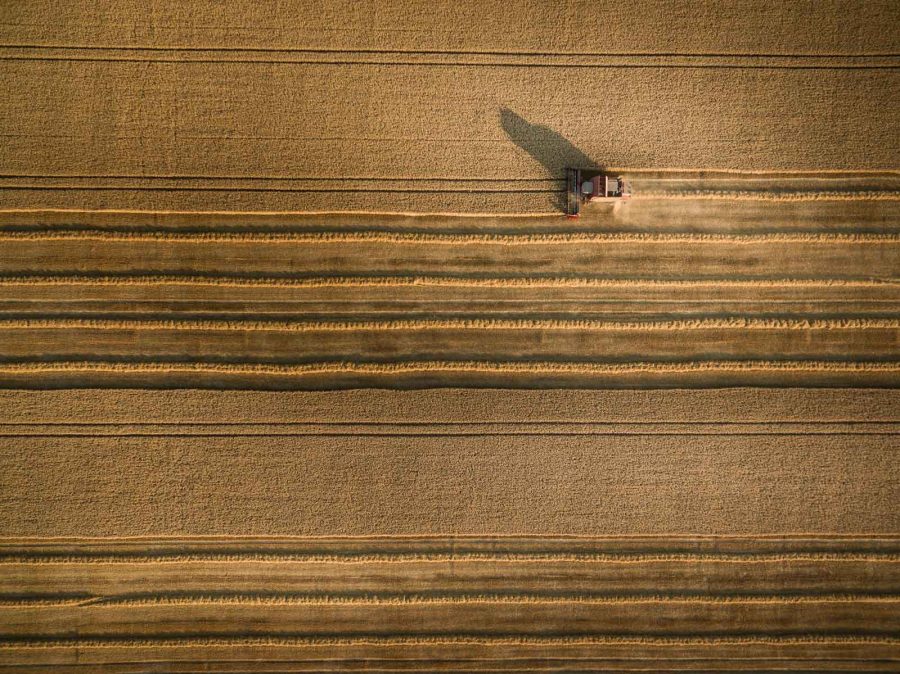
When flying over what might initially seem to be a monotonous uninteresting landscape, look for something which is out of place in the scene. Make this the subject of the image and place it in one of the third intersecting points (the rule of thirds). You can accentuate the colours in post processing to increase its presence in a final abstract image.

#2 Fly Your Drone Even When You Don’t Think There’s Any Point
Never assume that because a scene or object does not look great at ground level, it will look equally poor from the air. Most man-made structures and landscapes are designed and drawn in plan form. They usually have pleasing aesthetic features or have strong geometric shapes and patterns. No matter what you seen from ground level, power up the drone and go take a look at it. A great number of my best shots have been taken when I thought there wasn’t anything worth photographing!

#3 Learn to Fly in ATTI Mode
On occasions the drone may lose the GPS signal and aircraft will automatically switch to ATTI (attitude) mode. This can be quite alarming and unsettling when the ground station announces the error along with warning bleeps! If the drone is being flown in windy conditions the craft is unable to hold its position and will start to drift with the wind. Being able to quickly adapt to the conditions will avoid crashes and possible fly-aways.
In ATTI mode the drone will remain stabilised and will lock flight altitude accurately. Some drones may produce more power output and speed in ATTI mode so this performance advantage can be used when required. As the drone looks for satellites on the horizon, mountains, hills and tall structures can attenuate the signal, so knowing how to fly in ATTI mode will enable you to still fly the drone unaided by GPS.
#4 Pan with the Drone to Create High Megapixel Images
By current standards, the majority of camera drones available today have a relatively low megapixel count compared to their SLR and CSC counterparts. This can result in a loss of detail and limit how big you can print your images. One solution to overcome this problem could be to fly over your subject in a coordinated pattern and take a series of shots, which can then easily be stitched together in software programs such as Adobe Lightroom.
Further Reading: “How to Take & Stitch Panoramic Photos“
There may be occasions when shooting a subject at the maximum legal height (in the UK) of 400ft may not be high enough to capture the whole scene; taking a series of shots will resolve this issue. This shot of Melbourne Basin near Pocklington was made up of 12 shots, with each frame overlapping the adjacent one to aid in a clean stitched 27.4MP image.

#5 Think Ahead and Decide How to Process the Scene Later
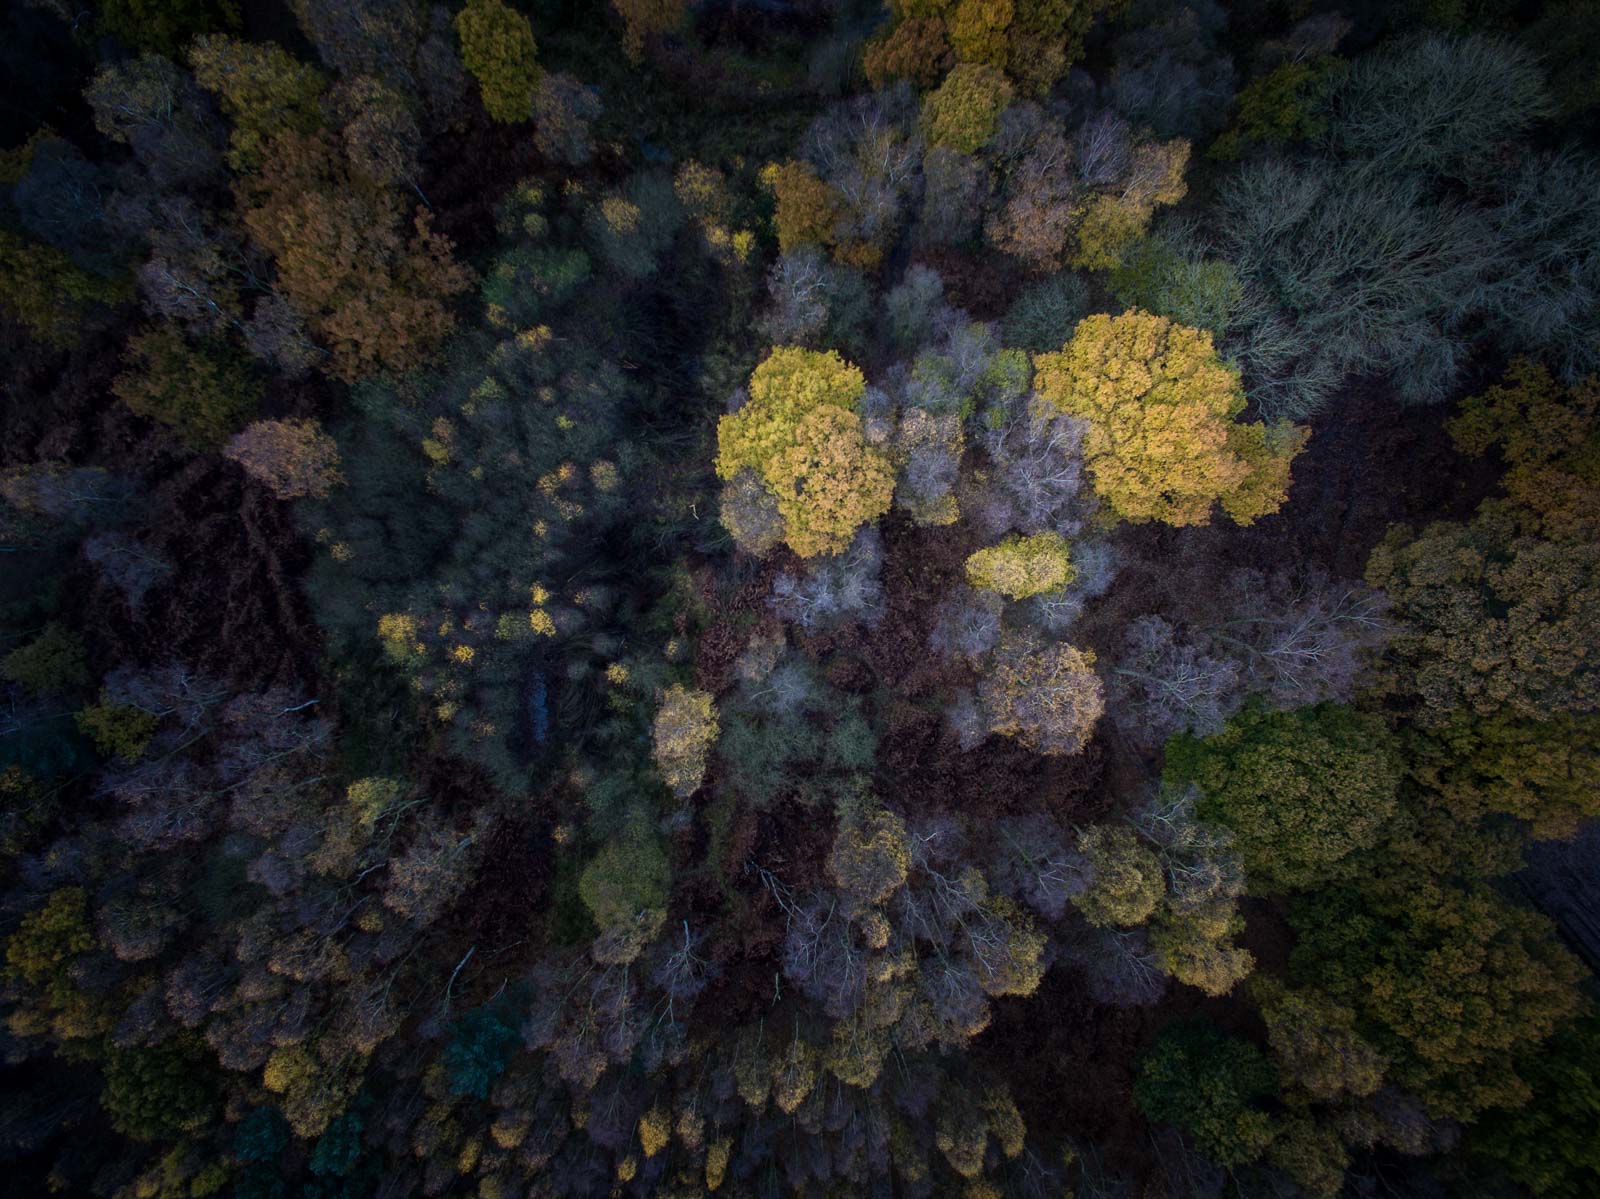
Despite close and detailed inspection of weather reports, when we get to a location the conditions are often not what we expected. But don’t let that put you off! Try and imagine how you could process the image to create mood and atmosphere. Use the dodge and burn tool to add light and shade to create a foreboding image. Adding a strong vignette to the frame will help keep the eye within the frame and, as with the image below, create a sense of enclosure.


#6 Pay Attention to the Forecast
UAV Forecast provides drone pilots with necessary information needed to fly their drone safely within given time periods. It shows airports and restricted areas, weather forecasts, estimated GPS satellites available and, something which not many people are aware of, the Kp index.

The Kp index measures geomagnetic disruption caused by solar activity, on a scale from 0 (calm) to 9 (major storm). Anything at or below 3 or 4 is usually safe for flying. The higher the Kp index, the more likely you are to have difficulties getting an accurate GPS lock. The effects also vary; sometimes everything will be fine, while at other times you’ll lose lock completely for a few seconds or even a minute, or appear to have a lock but the position will actually be wrong by hundreds of metres. During these conditions it may be a better idea to try and photograph the aurora instead?!
#7 – Use the Thirds Grid Overlay to Compose Your Shot
With low megapixel sensors, it is best to get the composition correct in camera when you take the shot to avoid unnecessary cropping. If you rely on correcting the composition by cropping and rotating the image in post processing you will lose precious pixels. If your ground station app has the ability to show the thirds grid, use this to aid in your composition. The overlay grid is also an essential guide to getting your shots straight!
Taken at the start of the Pocklington Canal at Canal Head, Top Lock is the first lock of 9 along the 10 mile stretch of the waterway. Having photographed the canal over several years, I had run out of unique viewpoints to shoot. The drone gave me fresh new photographic opportunities and the geometric shapes of the canal gates are well suited to the ‘top down’ images I love.

#8 – Scout for New Locations with Google Maps
It can be tricky to find new locations to shoot, especially when using a drone as there are many restrictions which limit where you can fly. Using Google Maps can help you find interesting compositions within the landscape. Earlier this year I was searching for photographic opportunities near my home when I found what appeared to be a scrap yard just a few miles away. I was aware that I would be required to ask the owner’s permission to fly over such a location and, given some recent bad press for drones in the media, I was quite apprehensive and a little nervous about asking for permission to fly over their property. I was pleasantly surprised when the owner welcomed my request with great interest.
I have continued to get positive responses from property owners when I have wanted to capture compositions on private land, so don’t be afraid of approaching the landowners for permission to fly as, in my experience, you will likely get the answer you want. Flying safely and legally will stop the hobby becoming a socially unacceptable pastime!

#9 Try to Keep the ISO at 100
Small sensors don’t perform well at high ISO speeds – especially the sensors in DJI’s Phantom 3 range. I find that an ISO above 100 can introduce lots of unwanted noise. I usually take shots in auto mode, but when the camera starts to increase the ISO I set it to manual. Drones, when set in GPS mode, can be remarkably stable. In light wind conditions, setting the shutter speed as low as 1/6th of a second to use an ISO of 100 can result in a sharp motion-free image. But make sure to take multiple frames to increase your chances of a sharp shot.


Further Reading: “Drone Laws: What You Can & Can’t Do“


