
Editing Guide to Golden Hour Photography
Golden hour photography takes place in the brief period shortly after sunrise and before sunset, and is favoured by nature photographers for its soft, warm, and diffused light. Shooting at this time of day can create a wonderful atmosphere and uplifting mood in your nature images.
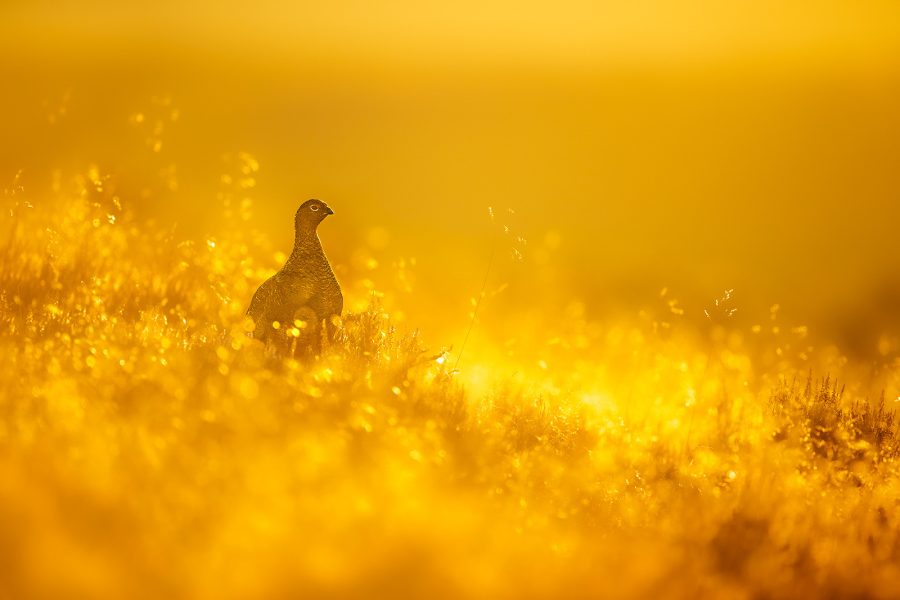
The rich, golden light can be used to highlight the beauty of your subject and emphasize shape and form, particularly when shooting contre-jour. However, the variability in the light during this time can make it challenging to work with, and as a result, some work in Adobe Lightroom is often needed.


As a wildlife photographer, my aim is always to keep my images true to the scene at the time of shooting and to avoid anything that appears unnatural.

Here are some useful tips and tricks for processing golden hour images that should help you get the very best from those early morning and evening shoots, without going overboard in the editing room.
Read more: How to Photograph Wildlife at Golden Hour
1. Import and organize your photos
Every photographer has their own workflow, and if it makes sense to you, that’s all that matters!
After importing your golden hour images into Lightroom, you might find it useful to use the Library module to organize your pictures. You have the option to create folders and collections to keep your workflow streamlined and organized.
Rating your photos at this stage can also be helpful in identifying the best shots to edit.
Another option is to ‘flag’ the images that you are most drawn to in order to separate the ‘keepers’ from the rest. By selecting the flagged images from the small drop-down menu, only those images appear in the filmstrip.
Read more: 5 Tips to Improve Your Lightroom Workflow
2. Basic adjustments: exposure and colour temperature
Navigate to the Develop module and start with basic adjustments to set a solid foundation for your edit.
Exposure and contrast
Golden hour light can vary depending on whether there is mist or haze present. Because the sun is low in the sky, the light is relatively soft, so setting the white and black points will add some contrast and depth. The exposure slider can then be used to either lighten or darken the image overall.
White balance
During golden hour, the temperature of the light will measure in the region of 3,000 degrees Kelvin. The wavelengths of the light are long, creating the warm, rich hues that the golden hour is known for.

Use the White Balance slider to either intensify this warmth or neutralize it if you feel the image is too warm. When deciding on colour balance, it is important to keep in mind there is no right or wrong; it is up to you as the photographer to decide how you would like the image to appear.
Avoid applying too much in either direction, however, as this can result in unnatural colours.
Highlights and shadows
Although the light is fairly soft during the golden hour, when shooting in direct sunlight, subjects that are white or partly white can be tricky to expose for.
Moving the highlights slider to the left can help to recover detail in the brighter areas of your photo, while increasing the shadows will reveal detail in the darker regions.
This balance can be used to soften images that appear too contrasty and bring out fine details that would otherwise be imperceptible.
Whites and blacks
Fine-tune the whites and blacks to ensure a full range of tones. Hold down the Alt key (Option on Mac) while adjusting these sliders to see a clipping preview. Aim for minimal clipping to maintain detail in the brightest and darkest parts of your photo.
Exposing for backlit images
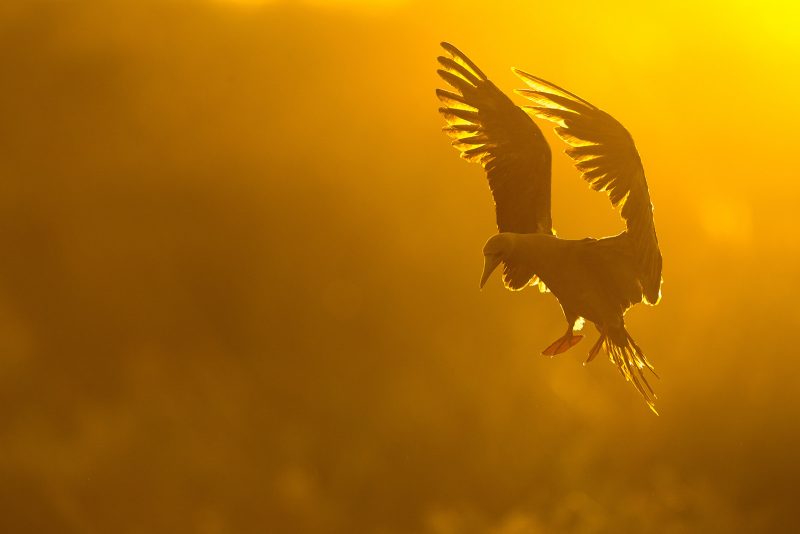
The low angle of the sun during golden hour makes it ideal for backlighting your subject. Whether you’re editing a silhouette or a rim-lit image against a dark background, you will inevitably be dealing with a relatively high-contrast scene.

When processing a silhouette, the background will usually be much brighter than your subject. Reducing the highlights can increase detail in the sky, while lifting the shadows can bring detail back into the subject.
The key is to find the right balance and allow the beauty of the natural light to work its magic.
3. Enhance the colours
Golden hour images benefit from vibrant colours. It is this warm colour saturation that gives the images an uplifting mood.

Vibrance and saturation
Increase the Vibrance slider to boost only the more muted colours; this avoids over-saturating the entire image.
Adjust the Saturation slider if necessary, but be cautious to avoid an unnatural look. The colours during the golden hour can be intense, and often just a very slight saturation increase is all that is needed.
Read more: Lightroom Colour Correction – Hue, Saturation, and Luminance
HSL adjustments
Use the HSL (Hue, Saturation, Luminance) panel to make precise colour adjustments. Enhance specific colours like the warm hues of the sky or the greens of the foliage by increasing their saturation and adjusting their luminance for a balanced look.
4. Fine-tuning with tone curve: adding depth
The Tone Curve panel offers more control over the tonal range of your image. Create a gentle S-curve to enhance contrast and depth. Adjust the points on the curve to fine-tune the highlights, midtones, and shadows.

Whilst adjusting the tone curve, you will need to keep a close eye on the image and use your own judgement as to how little or much to apply.
5. Sharpening and noise reduction: enhance details
Lightroom’s sharpening and noise reduction tools will help retain image clarity.
Sharpening
In the Detail panel, increase the sharpening amount to enhance fine detail. Use the Masking slider while holding down the Alt key to apply sharpening selectively. This ensures that only the edges and fine details are sharpened, and not out-of-focus backgrounds and foregrounds.

This also avoids introducing noise to the smoother areas of the image.
Read more: How to Get Sharper Photos Without Expensive Lenses
Noise reduction
Shooting during the golden hour will often demand a higher ISO setting to combat the low light, which can introduce noise.
There are now several options when it comes to AI noise reduction software; I recommend Topaz Labs Denoise. It does an excellent job of reducing noise without sacrificing fine detail and is very easy and intuitive to use.
Read more: How to Reduce Noise in Photos in Lightroom
6. Graduated filter and adjustment brush
Selectively apply exposure, clarity, brightness and other tonal adjustments gradually to your photo.
Graduated filter
The Graduated Filter can be a useful tool when processing golden hour images, as it allows you to apply selective adjustments to the sky or foreground separately.

Drag the filter down from the top of the frame to apply it to the sky, and you are then free to adjust the exposure, contrast, and saturation.
For very bright skies, simply decreasing the exposure will often intensify the colours and reveal texture and detail, which will help make the image pop. Similarly, dragging the filter up from the bottom of the frame will enable you to make adjustments to the foreground.
Adjustment brush
To make fine-tuned selective adjustments, the Adjustment Brush can be invaluable for dodging and burning specific areas of the image.
Simply brush over the area that you would like to change, and a highlighted box will appear, allowing you to make several adjustments to contrast, exposure, and colour.

When it comes to selective enhancements, less is often more, so avoid overdoing the adjustments to keep the image looking balanced and natural. I sometimes use the Adjustment Brush to bring out detail in specific areas of the image, particularly parts that are in heavy shadow.
7. Final touches: crop and vignette
Once the above adjustments are done, you will be ready to make a few final adjustments to your overall photo.
Crop
Achieving perfect composition in-camera should always be the aim, but there will inevitably be certain instances that prevent this.
The crop tool in Lightroom can be used to fine-tune your composition, eliminate distracting elements from the frame, and explore different ways of looking at the same scene.
Different composition guidelines such as the rule of thirds and golden ratio can be overlaid. The rule of thirds can be particularly useful for helping align different aspects within your image to create a more aesthetically pleasing and balanced composition.
Vignette
I rarely use the Vignette tool as I find it can look a little contrived, but for certain images, it can be a useful way of reducing the brightness at the corners to help draw the viewer’s eye into the frame, emphasising the subject.

Adjusting the ‘Amount’ slider will determine how much of the effect is applied, and adjusting the ‘Midpoint’ slider will change the size of the vignette.
Sliding to the left will enlarge the vignette, while pulling the slider to the right will create a large midpoint and therefore a smaller vignette. Be careful to only apply subtle adjustments and plenty of feathering to achieve a natural look.
8. Export your image
Once you are satisfied with your edits, the final stage will be to export your image. Choose the appropriate resolution and format based on where you plan to share or print your pictures.
Read more: Understanding the Lightroom Export Window
In conclusion
Although it is important to strive to achieve the optimum exposure, focus, and composition in-camera, post-processing is a vital part of photography and will allow you to reflect the natural beauty of the light.
Experiment with these techniques, and with some carefully judged adjustments to exposure, colour, and detail, you will be creating stunning images that fully utilise the magical quality of the golden hour in no time.
Always remember there are no rules – let your own creativity guide you, and above all, have fun!


