How to Photograph Freshwater Fish in the UK

Of all the subjects to take images of in the UK, freshwater fish have to be one of the hardest and least explored. I imagine the reason being conditions can be tough, with things like clarity and abundance in fish being a constant challenge. But, when everything works out, it can be really rewarding.
We have 53 species of fish that call our rivers, lakes, and ponds home. It might be something like the stealthy pike or more elusive Arctic charr, but no matter where you live in the UK there will be opportunities to photograph them.


General advice for fish photography
Some compact cameras (like the Olympus TG-Tough series) will be waterproof, however they normally have limitations on depth and functions – although most freshwater work is at relatively shallow depths.
For many situations, a housing is required – this is a costly but necessary expense. While cheaper options like waterproof bags are around, I’d be a bit concerned putting thousands of pounds of equipment in a cheap bag.
Housings are like camera brands; each has pros and cons. Ikelite is seen as the cheaper alternative and a bit plastic looking, but I’ve never had an issue. Nauticam is on the higher end of expense, but has all the bells and whistles.

With underwater photography, you have two options: to shoot with a macro lens, or with a wide-angle. You need to be as close to the intended subject as possible. The closer you are the better the sharpness, contrast, and tone. This does mean some planning is needed before any shoot, as you’ll have to commit to a lens.
Freshwater can be especially variable with clarity. If the water is murky, you can end up with lots of particles in the water – this creates backscatter and will show up in your image. You could clone some of it out, but life is short and if it’s not too distracting I tend to leave it in the image.
Scuba diving
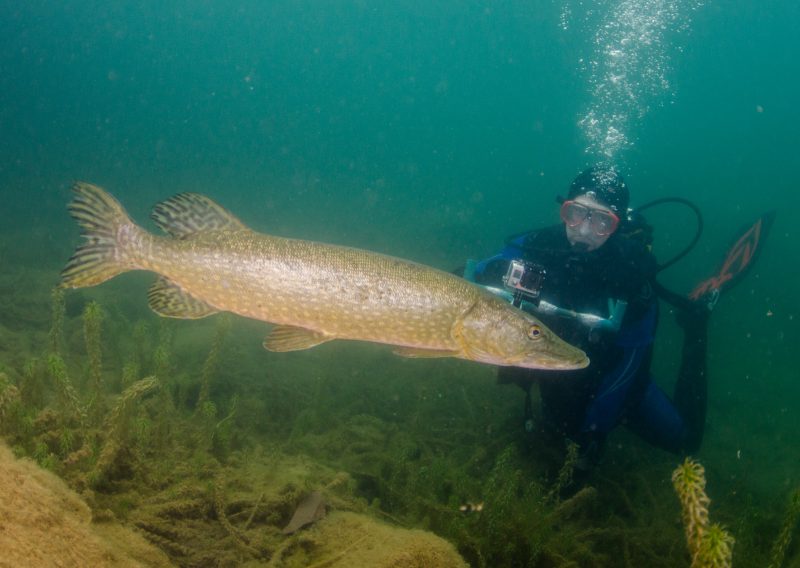
Perhaps the most obvious way to take pictures of fish is scuba diving. Well-known dive sites like Stoney Cove, Dosthill, and Capernwray are all good bets for fish photography in the UK.
If you’re used to diving in the sea, then freshwater diving is much the same with a few exceptions. You’ll need less weight as the lack of salt in the water means you’ll sink more easily. Generally, you don’t need to go too deep – I rarely go deeper than 10 metres. All the life is in the first few meters of water.
You aren’t necessarily limited to dedicated dive sites, although these offer the easiest diving as all the facilities are on site. Providing you get permission, you can dive in rivers and lakes. I’d suggest only doing it if the visibility is good (at least 4m) and if you have done a recce by snorkelling first. River diving can be especially dangerous, with currents and hidden objects making for added risk.
What scuba offers photographically is the chance to photograph fish at a range of depths, all the while you have complete compositional control.
If you are going below 5 metres, a strobe flash is probably a good idea to fill in the detail and bring colours to life. The deeper you go while diving, the less light you have and colours. After 5 metres, you lose the colour red; by the time you get to 30m everything looks blue. This is where flash is really needed.
It pays to approach fish slowly, and often (as is the case with species like perch) they’ll come in to investigate. But others are spooked easily; the bubbles produced when diving can be a hinderance and really frighten fish, so slow and steady works best.
A big disadvantage to scuba work is that it’s clunky and slow, and you have a limited time in the water.
Snorkelling
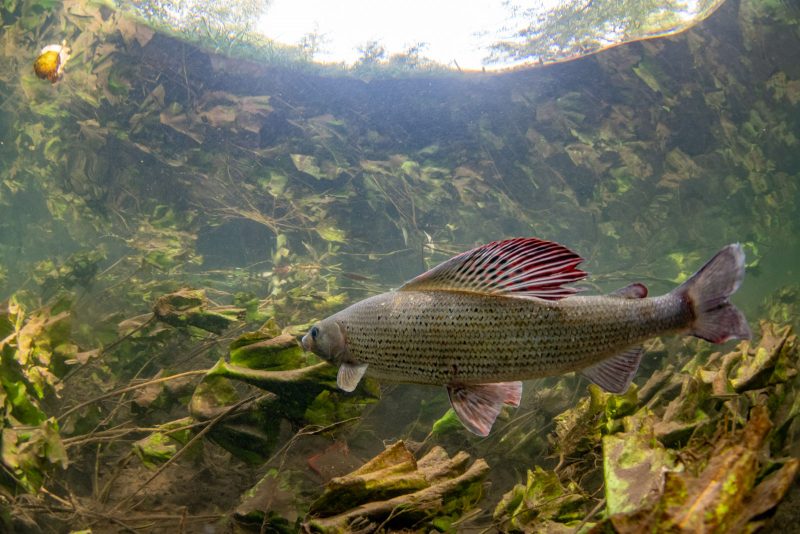
Snorkelling is a bit more accessible than scuba and will suit most people, particularly in shallow rivers and lake margins. Free diving is also a great tool if you can do it.
Wetsuits are generally more flexible and mobile, so I prefer these in open water and in the summer. In the winter, a dry suit is best. But you can get cold quite quickly, so I always wear a thick under-suit.
To help you dive down, a weight belt is a good idea but not always necessary. Being in shallow water, it’s important to check for bubbles on your dome port (the bit covering your lens) – tiny bubbles can collect there which will show up in your images.
In terms of camera settings, I treat it much like bird photography: I aim for a fast shutter to help freeze the movement of the fish.
If you’re trying to do spilt-shots, there’s a few things to remember. Firstly, a large dome port is useful as this will make it easier to compose the image. While you can do it hand held, if the water is shallow enough and the subject allows then a tripod can be handy (most housings have a tripod mount).
Water droplets are the bane of the split level shot and there’s little you can do to combat them. A quick dunk can help sometimes, or if you are dry enough simply wiping them away works.
Exposure can be tricky, but I tend to expose for the submerged part of the image and bring the details back in the topside half in post production.
If you’re snorkelling in fast-running or deep water, it’s a good idea to have the camera tethered to your arm so that if you drop it it doesn’t go for a swim. Shorter fins work better in rivers and are easier to walk in and out of the water with.
Tank work
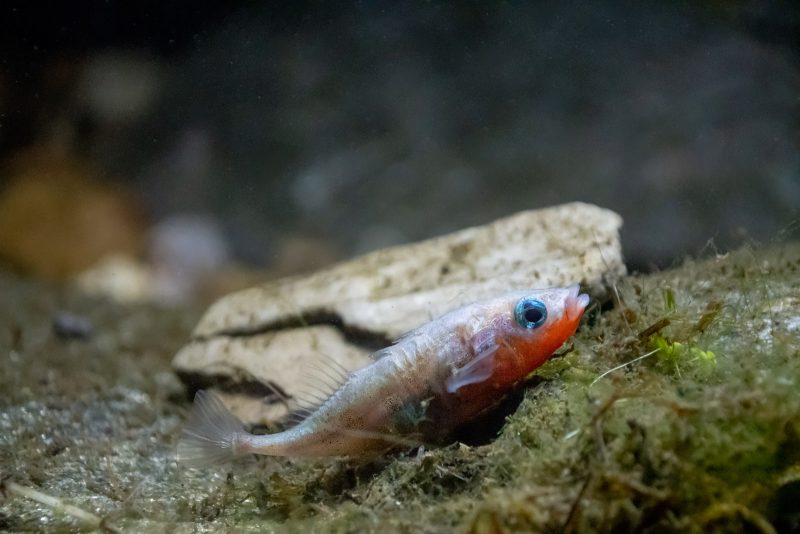
Arguably, this is the both the hardest and easiest way to get images of fish. Anyone can chuck some fish in a tank and take pictures, but to make them look natural is very tricky.
First thing to do is get yourself a glass tank. It doesn’t need to be fancy; a basic goldfish starter kit will work fine. Put in some rocks, dead wood, and plants (this may vary depending on the species). I like to set the tank up the day before to give it a chance to settle with any debris floating around.
If you are only keeping the fish in there for a short period, then a filter isn’t necessary. However, if it’s for a prolonged period then I’d recommend it.
A slight slope helps encourage the fish to the front of the glass – with a more natural backdrop this can be done using rocks and sand.
I prefer to use LED lights rather than flash as it acclimatises the fish better and gives you an idea of what the final image will look like when framing up. Dark rooms work best to get the most from the lights and reduce reflections.
You can also try public aquariums to get images and, although not often set up for photography, they can still offer great opportunities. One vital piece of kit for these is a silicone lens hood that when pressed against the glass will cut out the outside lights and reflections.
Tripods can be useful as light levels are often low, though keep in mind aquariums are often cramped and small spaces.
Whichever way you choose to get images of freshwater fish, they make for fantastic subjects to focus on and are an underrated group of British fauna.


