How to Take Creative Urban Wildlife Photos

When considering the genre of urban wildlife photography, you have to examine what it is that really gives an image that strong urban feel. The incorporation of manmade structures, people, or urban lights are great starting points. If you can get all three in one photo, then you should be writing this article instead of me!
But it’s a sliding scale, and just a hint to the relationship or proximity to man can be enough to give an urban feel to a photo. One thing is for sure though – you’re going to find it hard to take urban photos in the countryside. So get yourself into a town or city and harness these tips for being more creative with the wildlife that lives there.


Using manmade structures in your composition
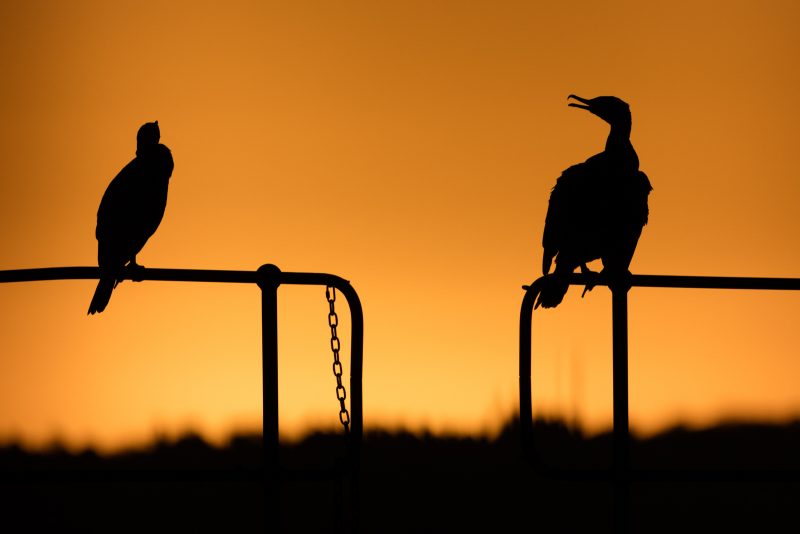
Using manmade structures is an obvious one, but it can be very effective and there is a lot of choice. Look for striking silhouettes like these cormorants posing near the Thames river. The inclusion of the chain brings more to the photo than the bars, as it’s an instantly recognisable object.
You can often find simple, clean shapes using manmade structures – and these can be used to frame your subject. There tends to be fewer distractions and less chaos (such as that rogue branch or annoying blade of grass bisecting your subject’s eye).
For this image of a large group of starlings roosting under Aberystwyth pier, the joist and supports create a rectangle that almost gives the impression of a border inserted in post processing. Using the shapes and lines to compliment your composition can really give a photo punch.
In all aspects of wildlife photography, a slow shutter speed can be very effective in bringing a still photograph to life. That shouldn’t be forgotten when you’re focusing on urban subjects. A shutter speed of 1/10th of a second was used in an attempt to get the balance of keeping stationary birds sharp, whilst rendering the flying birds as smudges of frantic movement through the frame. A tripod is essential for this, of course!
Frame choice
Uniform framing shapes will really start to jump out at you once you get comfortable in an urban environment. They are everywhere, so the next challenge is finding a subject to compliment them.
Don’t be afraid to consider the wider scene. A close-up of a single bird would not have the same impact as a wider shot when telling the story of man and nature. By including the wider scene, the viewer can clearly identify manmade frames controlling the composition.
The inclusion of the surroundings can really allow for lots of creative photos, so try not to fall into the trap of getting as close to your subject as you can as this will reduce the amount of urban surroundings you include.
The framing doesn’t have to be square or rectangular; manmade structures of all shapes will compliment a wildlife scene. You just have to be careful with the composition and not be too focused on the subject.
Back button focus can really help here as it allows you to grab the focus on the subject, then shift your priority to getting the shape of the scene composed within the frame. Ensuring the edges of any structures aren’t clipped or, if you’re going for a central composition, ensuring the scene is symmetrical is just as important as getting the main subject sharp.
Light is as important as ever, but not in the usual way
Light is arguably the most important thing to consider in all photography, and it’s no different its urban wildlife photography. However, there can be a twist to that which I’ll touch on shortly.
This grey heron was fishing under a bridge in London, and the way the natural light was shining through the grill really gave a gritty and urban feel. When there’s partial or patchy light like this it can be beneficial to put your camera in spot metering mode for the highlights – or even better expose manually to ensure you get the exposure balance right between light and dark. It’s essential to be getting detail in both the bright and dark areas, and it should not be left to chance.
In exciting moments like this you have to stay critical of your own work. Fine details like a shadow obscuring the heron’s eye would have detracted from the image, so taking a few photos whilst the heron made some small movements was essential to ensure that the eye was catching the light.
It’s the use of manmade light that can really allow you to get creative with urban wildlife photography, though. Try venturing out in the early morning or staying past sunset and incorporating city lights in your photographs.
If you’re taking a really wide scene that includes sky, then it’s best to do what any cityscape photographer would do and wait until the ‘blue hour’ just after sunset. During this time, the detail remains in the sky but the lights are still very prominent.
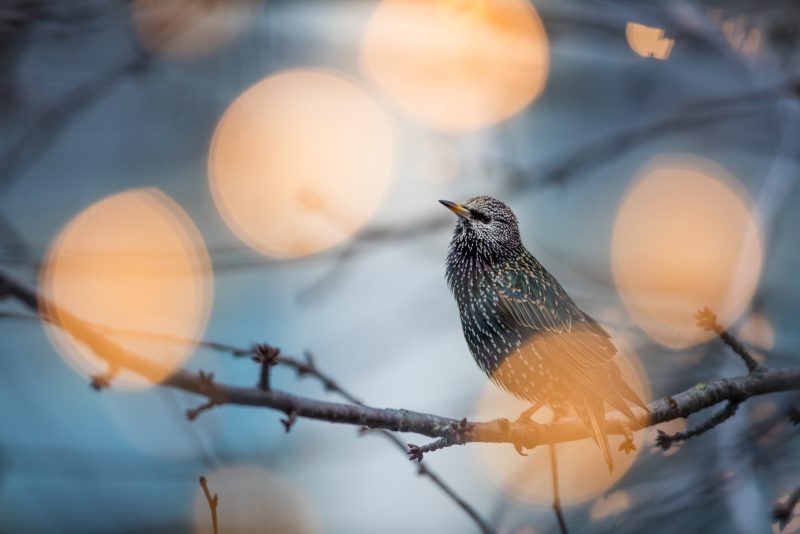
Don’t stop there though, and look for the finer details and close-ups with these lights. If there is one time in particular that presents the most opportunities, it’s Christmas! The extra fairy lights can provide endless opportunities, so try and include them. It’s best to use a very wide aperture in order to keep a shallow depth of field and create the bokeh that really shows off the lights.
The lights can be in front of the subject too, and can be done by looking through something like a string of fairy lights. In the below image, if the lights were behind the subject then they would be far smaller and not have the impact they do.
Really, the possibilities are endless. Look for traffic lights, car break lights, or just the lights from someone’s house. The key thing really is to be there at either end of the day.
Personally, I find the evenings better as you can search for suitable subjects before it gets dark and then be there to shoot them with the artificial lights after sunset.
Urban invertebrates
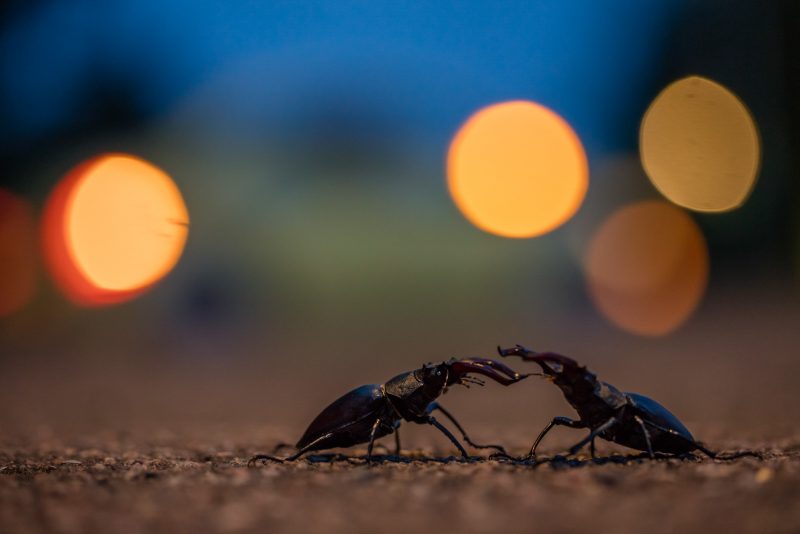
It’s not just birds and mammals that share our concrete world. Invertebrates can make for some creative urban images and, once again, the use of artificial lights can result in some really interesting photos.
Try utilising a slow shutter speed. Instead of a blurred subject as we saw with the starlings, try and capture the movement of something like a car as it moves through your scene. Light trails in the negative space can be really striking.
For the moth photo below I’ve used a wide angle lens and a shutter speed of around 10 seconds as a car drives past. One key change to make in your camera settings is the white balance. Often during the day you’ll have your camera set to around 5500K (or perhaps the cloudy setting) to bring warmth to the resulting photo. The yellow and warm hue of city lights tend to look a bit drab with these settings, so it’s often better to reduce your white balance to around 4500K so that there is a cooler feel to the colours created by the urban environment.
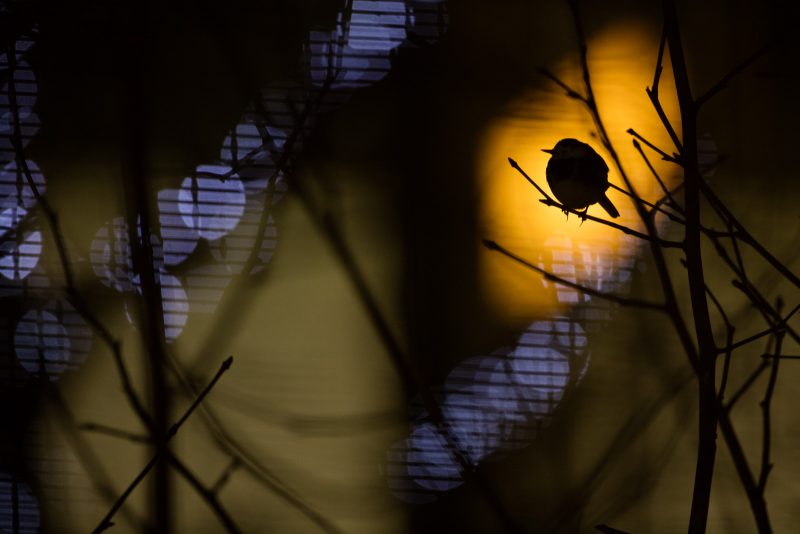
Finally, it’s worth experimenting with underexposing your photos so that your subject is silhouetted. As the evenings go on, these become easier to do as the surrounding environment becomes darker. This can be a great way to try and bag something different and creative before you head home for dinner.
Including people in the frame
Usually a wildlife photographer is trying to escape other people and find somewhere wild, remote, and natural But we’re talking about creative urban wildlife photography here, so why not turn that ethos on its head and actively try and include people in your photos.
You may need to increase your f-number to give more detail in the foreground or background so that it’s clear the objects are people, though. I’m usually a fan of keeping the depth of field as small as possible but that’s counterintuitive when you want the shape or details to be clearly identifiable.
In conclusion
I’ll wind up this article with one final tip, and that’s to think outside the box… by moving inside. The majority of wildlife photography is taken outside, but what could possibly be more urban than a photo taken from inside a building?
The opportunities for this are few and far between, but that pigeon nesting on the ledge of your office window or the spider that dashes across the lounge floor presents an opportunity.
I was very lucky to visit The Lofoten Islands where I found a colony of kittiwakes nesting on an old building. After taking lots of photos from the outside, I ventured in where the perspective is unlike anything that could be achieved had I not risked the rotten staircase.
Be bold in those urban places, and you’ll always come home with something on your memory card that is worth editing!


