How to Watermark a Photo

Most photographers have some sort of an online presence. That is a good thing, and in the digital age it is almost unavoidable. However, the nature of the internet means that images are susceptible to being used without permission. Watermarking your photos is one way to deter, and hopefully prevent, unauthorised use of your photos. In this guide, we’ll look at how to watermark photo.
What is a watermark?
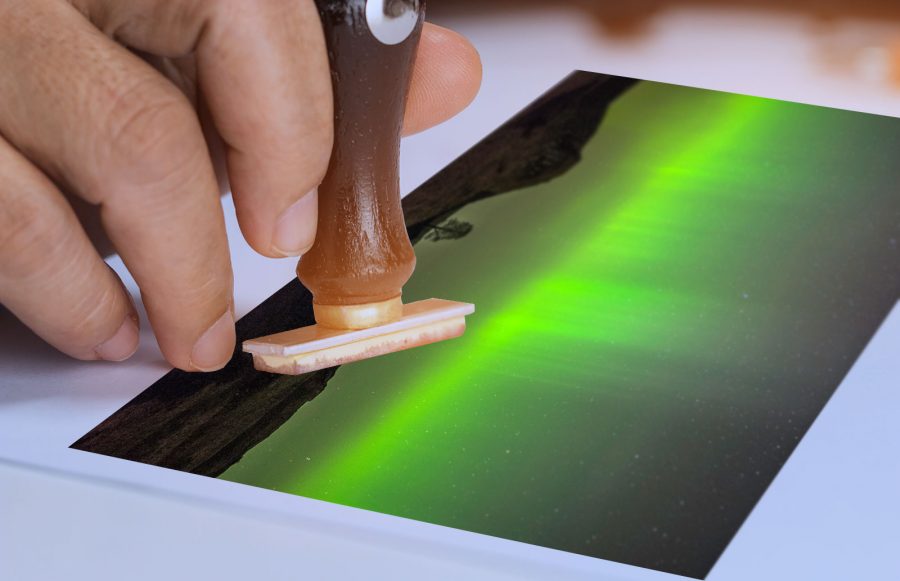
A watermark is a digital stamp on your photo. Usually bearing your name or logo, a watermark is there to show an image is yours.


Should you watermark photos?
Watermarks are effective deterrents against unauthorised use and casual image “theft”. Most people who use images without permission don’t actually realise they’re doing anything particularly wrong. Many think that an image being online is in the public domain and therefore free to use – especially if that use is not commercial. This is, of course, not the case.
For this reason, those looking to find images will be searching for a photo without a watermark – one that is easy to use for whatever reason (such as on a personal blog or similar). Having a watermark will immediately deter such casual uses.
Sometimes copyright is infringed by those who know exactly what they are doing. Watermarks will still act as a deterrent here, but a determined person will be able to alter an image to remove a watermark.
Overall, it is generally a good idea to watermark your photos.
Choosing your watermark
Many photographers’ fall foul of having ugly watermarks that detract from the photo. They’re either too big or too bold (or both) and immediately draw the viewer’s focus away from the image.
For this reason, a watermark should be subtle. Remember, anyone who actively wants to remove your watermark can do so; that is just something you need to come to terms with. Therefore, the benefit of having a more subtle watermark is greater than having something overly aggressive.

Personally, I watermark my photos with my company logo. I had it professionally designed for this purpose, and I can stamp my images with it. I like it because it is smart, clear, and uniform.
Some opt to watermark images with just a line of text. © John Doe in the corner of the image is more than acceptable as a watermark – just make sure that you aren’t using Comic Sans as a font!
Other styles are also possible. For example, Photologo is a company that specialises in creating stylish watermarks for photographers. For a relatively small fee, calligraphers take your name and create a beautiful and unique “signature” for your photos. They look lovely, and are similar to the way an artist signs a piece of work.
How to watermark your photos
Applying your watermark to your photo is easy. The most important thing is that you ensure your watermark is uniform across all your photos. That is to say, the way it is applied should be consistent – the size, opacity, and positioning should be the same throughout your portfolio. It’s very noticeable, when scrolling through a selection of images, if there are inconsistencies.
Let’s look at some ways you can apply a uniform watermark to your images.
How to apply a watermark in Lightroom
If you’re using Adobe Lightroom, it’s very easy to apply your watermark in the Export window.
Once you have processed your photo and are ready to export it, hit the Export button. Scroll down and you’ll see a “Watermarking” panel. Expand it, and take a look at the options.
Ensure the box next to “Watermark” is checked, and then open the dropdown menu. Select “Edit Watermarks…”.

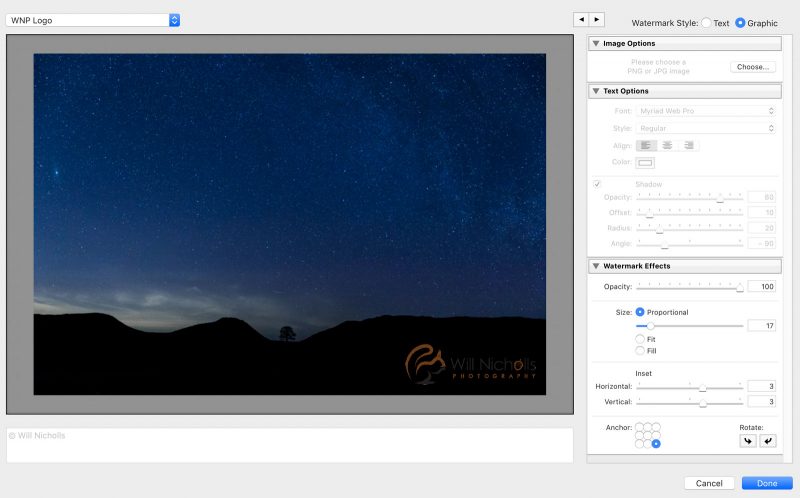
In the top-right corner, you can choose between a simple text watermark or one that uses a graphic (such as your brand logo or Photologo signature). If using a graphic, ensure that the file is PNG format with a transparent background to avoid any background colours being stamped onto your image.
Under Watermark Effects, select an opacity of around 60 (so that it is transparent), and just an appropriate size and position. Use the Inset sliders to ensure it is crammed up against the corner of your image.
Now, save the watermark with a name that you can easily identify. In future, you can now select this watermark from the dropdown menu in the Export window. Lightroom will apply the same watermark consistently to a photo when you export it this way.
How to apply a watermark in Photoshop
If you’re using Adobe Photoshop, you don’t have the benefit of the Export window that Lightroom users have. However, you can still create uniform watermarks across your images.
To do so, you will need to utilise Photoshop Actions. First, open up the photo you want to watermark. Then, open up Actions. This window can be found by navigating to “Window > Actions”.
In the Actions panel, create a new action by clicking the square with a plug sign inside it.
In the pop-up window call it “Watermark” and click ok. You can ignore the other settings.
Your action panel should now show a red recording button that is already selected. The action is now recording everything you’re doing.
Now apply your watermark in a new layer. Again, this could be a logo or a text field. You can adjust the opacity of the watermark in the layers panel.
Once you’re done, hit the stop button (the square) in the Actions panel. Now, when you are editing another photo, you can select that Action and press the play symbol. Photoshop will then repeat the adjustments it recorded, creating a uniform action.
Be aware that you will need to create different actions for images that are of different orientations or aspect ratios.
What if someone uses my photos anyway?
Even after you’ve gone through the trouble of learning how to watermark a photo and applying it to your images, you could still find copyright infringement occurring.
You may find that people use your photos with your watermark. In this case, there is the added comfort that your watermark is still there bearing your name.
Even so, I recommend reading more about copyright infringement and what action you can take to resolve cases of unauthorised use. Here are some articles that I recommend reading:
I’d also recommend reading these two as well:
Good luck out there!


