10 Top Tips for Taking Better Bird Photos

David Tipling is one of the UK’s best bird photographers, and has compiled his top ten tips for bird photography in this article. Cue David!…


1. Check Your Histogram
Always check your histogram to ensure a correct exposure. This is the graph that shows the distribution of pixels in tones from dark on the left, to white on the right. Donʼt worry where this peaks, but you should make sure pixels never run off the ends – if they do it means picture detail is lost. You want to retain detail in the brightest and darkest parts of the picture. There will be times when this is impossible, such as if you have a white bird on a very dark background. But in such a case, by underexposing you will keep that all important feather detail in the bird’s white plumage. Similarly, you should try to avoid losing detail in a black bird.
2. Focus on the Eyes
Look at a bird photo and you will find yourself gravitating towards the eye, so if it is not sharp then it may not work. Thus, make sure your point of focus is on the eye of the bird. Autofocus can encourage lazy composition, and you might end up focussing on the body of the bird. This may be fine, but if you are using a shallow depth of field the birdʼs body is likely to be beautifully sharp, while the eye might be slightly out of focus and that will detract from your picture.
3. Get Down Low
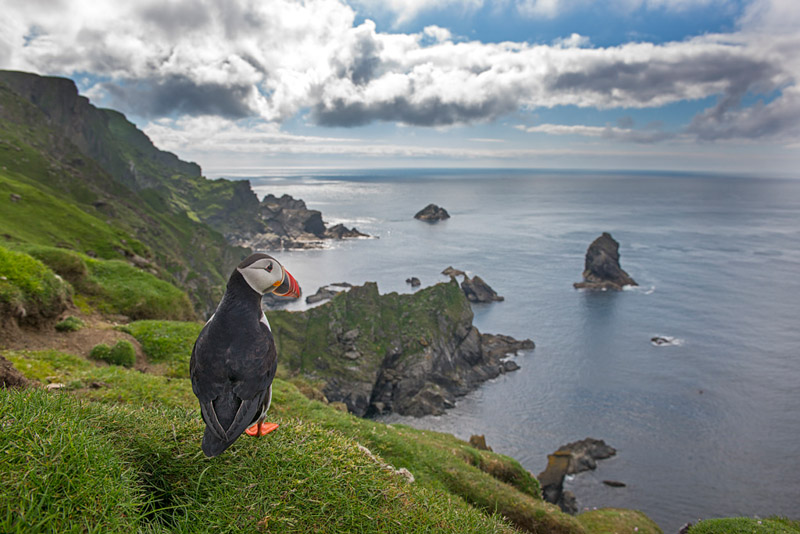
You can do a simple experiment with a tame bird, say a duck on a park pond. Shoot from above while standing, and then lay down and shoot at eye level of the animal. The eye level shot will be far more engaging and give a more intimate feel to the picture. Shooting from above creates a more detached feel. Using a shallow depth of field with this technique can provide really eye catching results as you throw any foreground or background out of focus, creating nice washes of colour, and attention is focussed on the bird.
Further Reading: “How to Photograph Flocks of Birds“
4. Play with Light
Experiment with the direction of the sun, shooting into the light at the start and end of the day can produce some really eye catching images. The mood of a picture is often dictated by the angle of light. Try back and side lighting: it opens up a whole new creative world. Chances are you will produce lots of pictures that just donʼt work, but now and then by breaking the rules and going for a more striking image, that euphoric moment will come when you check the back of the camera and realise you have taken a winner!
5. Pay Attention to Composition
It helps for a balanced feel to the picture if the bird is looking, or flying, into space rather than flying or walking off the frame. Resist the temptation to crop too tightly unless there is good artistic reason to do so. Of course rules are there to be broken, and in some compositions a bird walking or flying out of the frame can work. It creates a tension in the picture that artists often take advantage of, but for a photograph to work in this way it normally has to have a lot of additional interest in the frame.
6. Prioritise Your Glass
Buy the most expensive lens you can afford, as it is better to invest in the quality of the glass than your camera body. DSLR cameras are now so good that even the budget priced consumer models have good quality sensors inside them. You could buy the best DSLR camera on the market, but if you donʼt match it with a good lens your results may disappoint.
7. Experiment with Settings
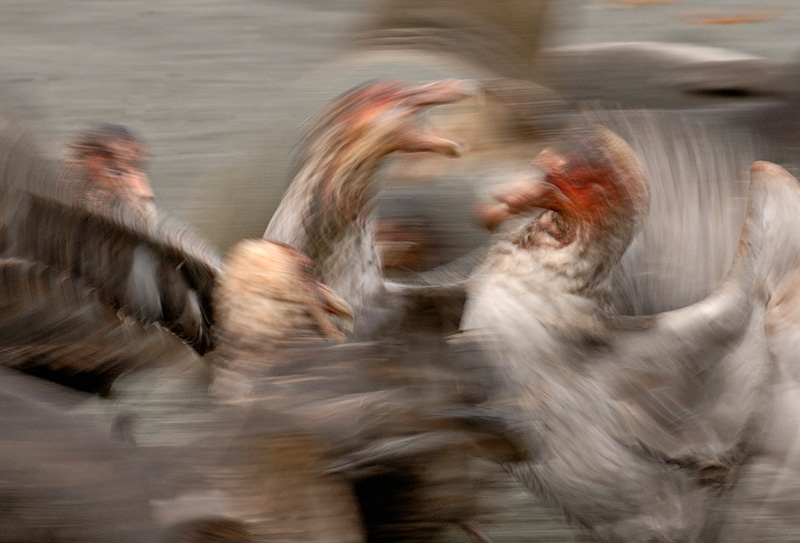
Donʼt be afraid to experiment with depth of field and shutter speeds. Really slow shutter speeds of say 1/15th sec when photographing, for example, a flock of geese taking off can result in art! Equally, a shallow depth of field (plane of focus) can produce nice smooth backgrounds where emphasis is placed on your subject. Less is more is a mantra I use often when describing composition, so try and avoid fussy backgrounds and other distracting elements that will lead your eye away from the subject when viewing the finished picture. This might mean moving a little – perhaps an inch or two up, down or left or right to avoid a distracting twig or background object. Using a shallow depth of field and a long lens will go a long way to creating nice smooth backgrounds.
8. Get to Know Your Subject
Learn the tell-tale signs birds give when they are going to take off or exhibit another interesting piece of behaviour, so you can anticipate a moment of interest. For example, ducks, geese and swans will always give a signal to the birds they are with of an impending take off – normally this is a bobbing of the head. Birds of prey will normally defecate and ruffle their feathers, and any big bird will position itself to take off into the wind. By learning these signs you give yourself a far greater chance of readiness to capture the action.
Further Reading: “How to Photograph Birds in Flight“
9. The Early Bird Catches the Worm
Get out early! Some of the best opportunities and light come soon after dawn. Most birds (raptors are an exception) are most active at daybreak. When the sun is low at both ends of the day colours are enriched, and by shooting into the light you can create beautiful silhouettes if shooting against the sky. If you can shoot into the light against a dark background then your bird will become backlit; this works well with light or white-coloured birds as the light will irradiate through the feathers. Donʼt ignore cloudy days though, particularly for white birds when the subtle feather details of, for example egrets, can be shown to beautiful effect.
10. Be Inspired
Look at other photographers work and at bird art; develop ideas for pictures you want to take, and that way your own style will materialise. The more sources of inspiration you seek out, the broader your approach and more diverse your style will become. Never be afraid to experiment with angles and techniques. Allow your imagination to run riot.


